I've been a very busy girl today and haven't pulled a loop or done any binding on finished hooked pieces. Between working on the paisley dye project, working on my grandson's handmade wig and mustache for him to be Einstein at school, AND making homemade vegetable soup there's been no play time for me.
Please don't get me wrong, I'm having a BLAST helping my grandson with this endeavor and is a story I'll share later....anyway...back to paisley.
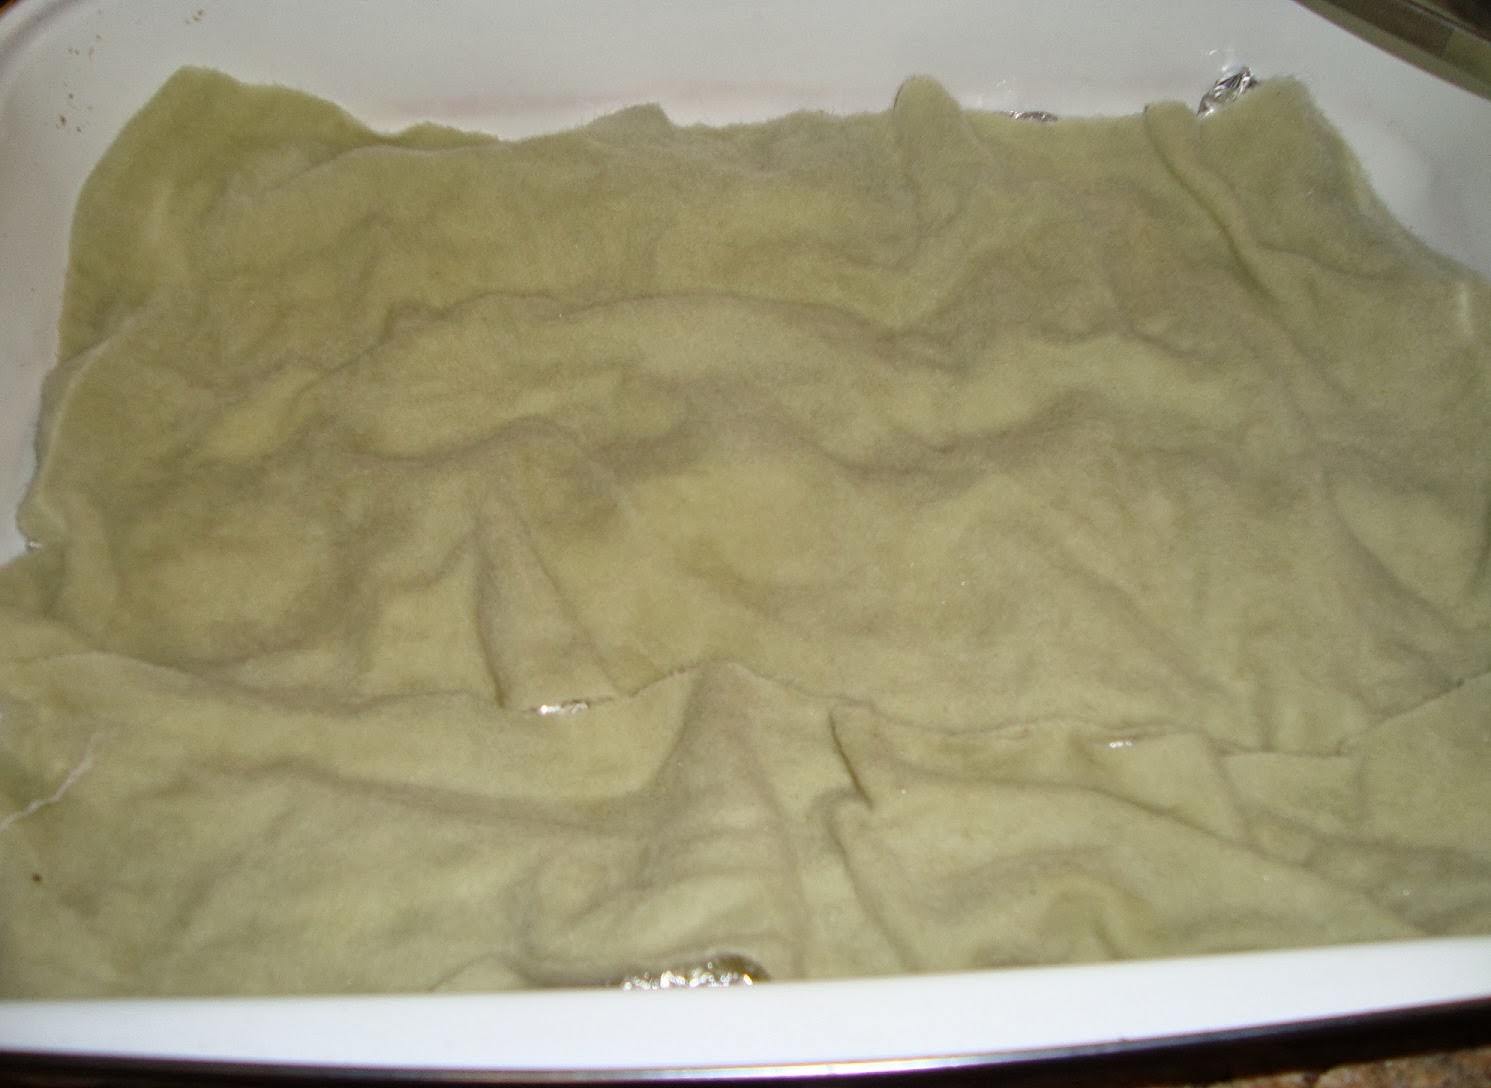
Joan Moshimer's instructions wrote that she used Dorr's Mint wool as the base wool since it was a pale grayed-green helping to soften the colors. At first I'd considered ordering a yard but figured there must be something in my stash that I could use even if it was in pieces. And pieces it was.
Also I chose a variety of greens since I wasn't sure exactly what Dorr's looked like in person. Besides, it might be nice to have different looks since you already saw the various antique paisley colors available that Deb purchased.
Joan chose Cushing dyes of Egyptian Red, Gold and Aquagreen as her dyes. She used FOUR pieces each 10" x 18" (to fit a large flat pan). The wool I chose might have been a smidgen longer or smaller in length but wider, but approximated the amount. And then soaked in water with a little detergent for a while.
After pre-soaking the wool pieces in detergent squeeze them out and put them in a solution of 4 cups warm water mixed with 4 TBS vinegar. The vinegar will help absorb color quickly.
Then mix:
- A. 1/4" tsp. plus 1/8 tsp. EGYPTIAN RED in 3 cups boiling water.
- B. 1/8 tsp. GOLD in 2 cups boiling water.
- C. 1/16 tsp. AQUAGREEN in 2 cups boiling water.
Since I didn't have a 3 cup utensil used for dyeing decided to use two cups and fill them each with 1 1/2 cups water.
NOTE TO NEWBIES: You can see a piece of my nose mask on the far right, which I use when my dyes are opened and until they are dissolved ~ better safe than sorry. AND, a little hint is to put some water into your measuring cup, swirl it around and dump it out before putting your power dye in and it will prevent some of the particles from floating around.
Then into the flat baking pan put a sheet of aluminum foil lightly crumpled.
Next Joan squeezed out the first piece and laid it over the foil.
Using dye solution A spoon splotches of it all over so only small areas of original mint color remain. It looks white here because of the flash but it is mint green.
Then with dye solution "B" Joan spooned on to cover the remaining mint color here and there even onto the red, using much less of B than A.
Next, Joan's instructions say that solution C is spooned on here and there using even less than B. My colors seem to be very limited here I know. But also in her article it says the bottom wool will be the darkest since all the color will drain down. Being timid I was a little conservative in my colors and guessed the top would drain down.
This repeats, laying each subsequent layer over the previous. FINALLY pour over about 4 cups of water/vinegar mixture, cover and bake at 300 degrees for 1 hour.
And these are the results, this without a flash and can now see that I was a little stingy with my red dye. BUT, this was my first try.
And this with a flash. Think I was scared of this since I was putting red over green fearful of getting a brown. Ive more mint green so perhaps one day I'll try it again.
But this will be good to use for flowers, part of a sunset, tulips? Hey, mistakes can always be used for something even if it didn't turn out to be for the project you intended.
I'm very envious (jealous) of my gal pal who can color by eye. I'm sure that Lynne is chuckling right now if she is reading my blog and I'll get a response from her by tomorrow for sure. UPDATE: Lynne did write me and said that SHE was envious because she's been wanting to try this recipe but hasn't done so yet. However, she is planning to experiment one day soon.
Have a great evening everyone and now I've go to go back and stir my homemade vegetable soup. Have a great weekend and remember to be kind to one another.
Saundra
Have you ever hooked antique paisley shawl strips in one of your pieces? I have and it did add a nice look to the piece. Even at my local thrift shop just once I had the opportunity to pick up a piece of paisley and was very surprised to find it there. It is old and fragile and mine didn't fare too well when trying to hook it.
However, I purchased a nice piece from Kris Miller at camp once and hooked well. You may wish to contact Kris to see is she has any paisley for sale if you are interested in trying it. Seems to me it was like $10 or $12 for a small piece about the size of the ones rolled up in the picture above. When hooking with real paisley you need to cut the strips wider and it will curl, which is exactly what you want it to do.
My friend Deb went bonkers over antique paisley and was on the hunt to purchase as much for as good a price as she could. For any of you who have checked, you realize paisley is expensive. Yet my dear friend Deb gifted me with strips from all the various colored paisley she purchased. In the picture below, all of the paisley is her gift to me except for those two little pieces to the far right. That would be a small piece of the fragile paisley I pick up at the local thrift shop but as mentioned, is too fragile to hook with.
And this is a rug that Deb hooked with Barb Carroll called Hildafern (a Woolley Fox design). All the leaves in this rug were hooked with paisley. As you can tell she has quite a selection of colors.
So this weekend I intend to try something new with the dye equipment. One of the hand outs that Betsy Reed gave the class was an article by Joan Moshimer on "How to Dye Paisley".
No, it isn't over dying the already beautiful antique paisley, it is trying to achieve a faux paisley look. Well of course it won't look like real paisley, but I'm going to give it a try and will post everything in stages for you to see what I do. I just might end up with a mess because if complimentary colors are used in equal quantities it could be that I'll end up with a gray mess. But hey, it's been a while since I've pulled out my dye equipment and want to play a little. Besides, the heat will be nice with these sub freezing temperatures here.
Have a great evening, try and stay warm and be kind to one another.
Saundra