Showing posts sorted by relevance for query natural dyeing. Sort by date Show all posts

Tuesday, April 8, 2025

Dandelion / Daffodil Dyeing Results

As stated in the previous post, the blooms needed to soak overnight in a mesh bag.  A few years ago I purchased a package of 2 mesh bags at a local Dollar Tree store, perhaps they still carry them.
Per the previous post on this topic, I needed to purchase some alum as I had none in my spice cabinet.  Really didn't want to leave the house as it was pouring buckets of rain.  But since the blooms had soaked all night decided to venture out.

As my luck would have it, neither Walmart nor the Food Lion had alum on their shelves.  So figured the local health food store surely would have it.  Pulled into the parking lot to see they have gone out of business.

What now??  I googled "substitute for alum as mordant".  Would you believe that instead of alum I could use aluminum foil??  To see what other mordant substitutes can be used in natural dyeing click HERE.

What did I have to lose for this mad scientist to put some tin foil in the pot since there was no alum?  But didn't know just how much it would require to replace the alum called for.  Oh well, oh hell....here goes.
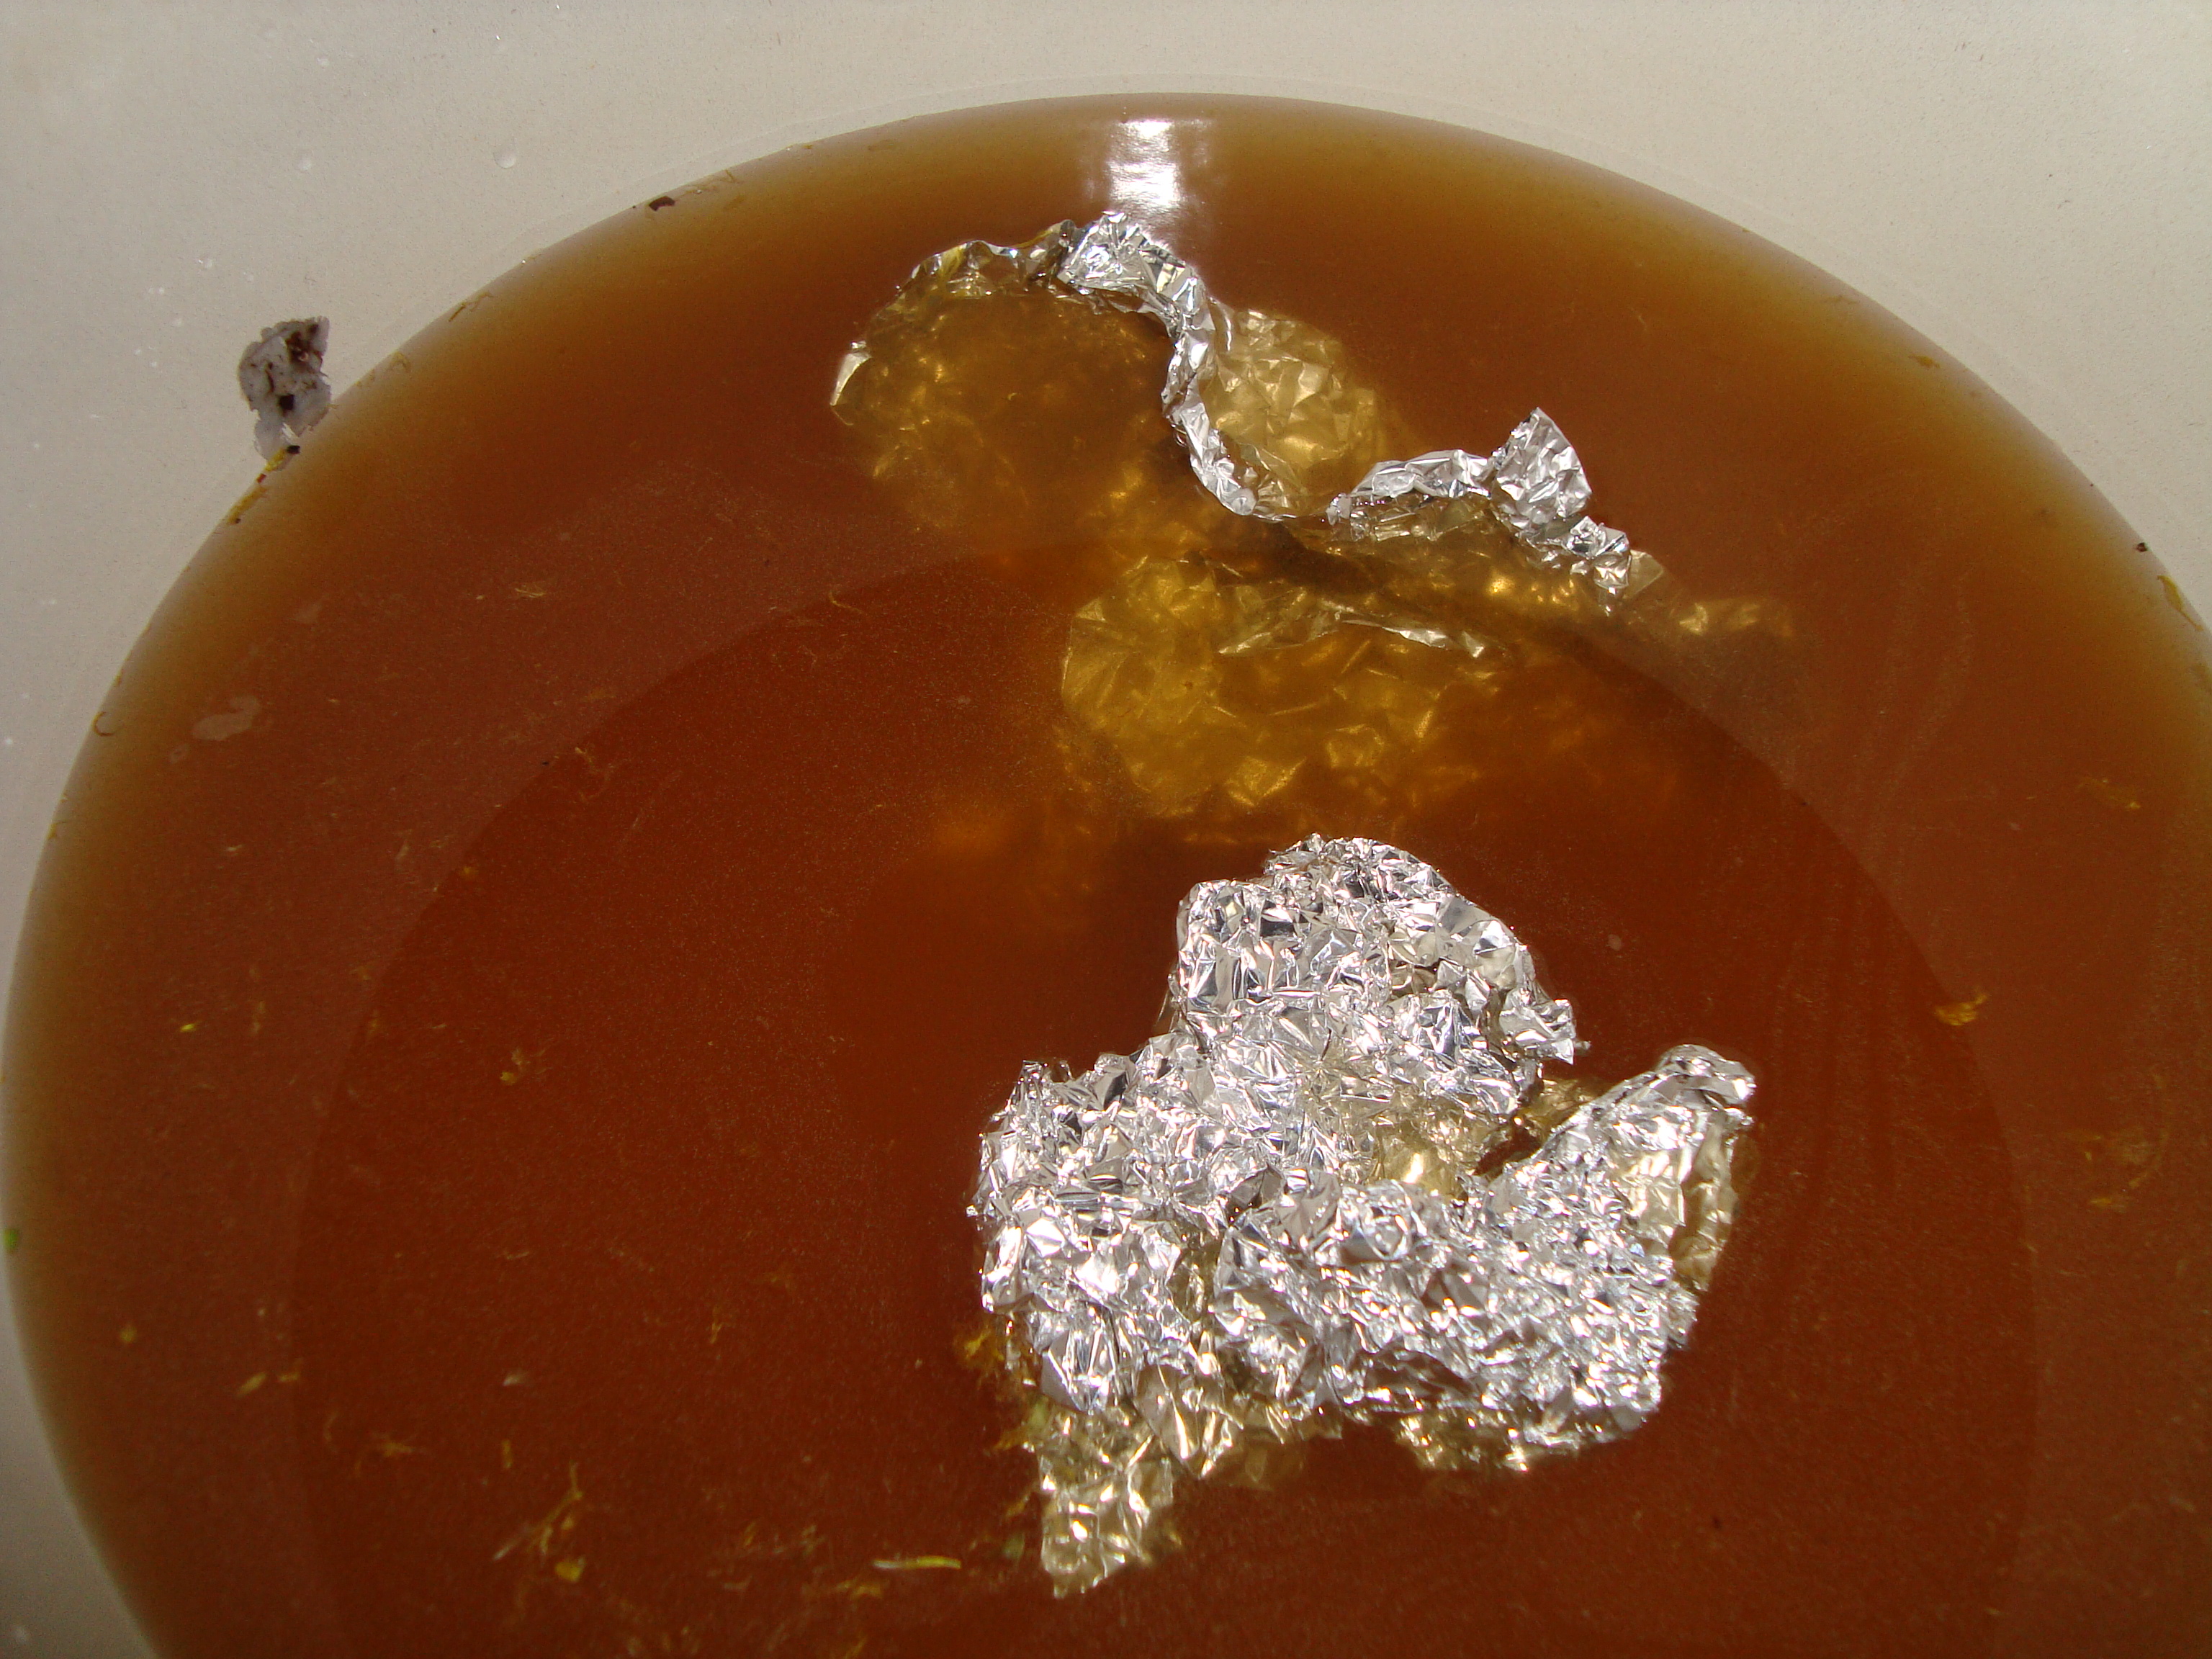
Stirred the tinfoil around a bit while heating the water then put in the wool.  Below is the selection chosen for the experiment and was hoping for the dye to produce a chartreuse color.  
For hours it seemed the color was not being absorbed by the wool.  So turned on the heat under the pot for half an hour longer and let it sit overnight as the instructions said (further down the post).  Next morning these were my results.
Perhaps not the chartreuse I was looking for but it is better than having the stark white.  Here is the recipe as provided by Marie Sugar in her "Complete Natural Dyeing Guide".

Recipe ingredients:
   4 cups dandelions
   1 teaspoon alum
    1/2 teaspoon cream of tartar
   over one-half yard of wet wool 

Directions:
  • Soak 4 cups blooms in a mesh bag in water overnight.
  • Add additional water to solution to fill a large pot and heat to simmer for 1 hour.  Add mordant before putting in the wet wool.
  • Add wet wool and simmer for 1 hour.  Turn off heat and let wool cool in pot overnight.
  • Remove wool, rinse in water w 1 tsp shampoo and rinse until water runs clear.
  • Squeeze out water and hang to dry or put in dryer.
You're probably wondering if I'll ever do dandelion dying again.  Uh, don't think so.  But will do onion skin dyeing again.

Happy Hooking.

Saundra

Wednesday, August 17, 2016

Natural Dyeing

Can't believe that as hot and humid as it is outside that I'm thinking of dyeing.  Perhaps it is because I feel like I am in a hot pot of water.  And no am not getting ready to dye, that will come later into the cooler temperatures but need something to write about.

In the past I have done some natural dying using onion skins, avocado pits and black walnuts.  To see a collage of old posts on different dye methods posted on my blog click HERE.

While perusing Pinterest the other day saw a magnificent photo of dyeing with black beans.  And they were beautiful colors.  So this post is a historical record for me as well as giving info to my textile loving friends.
dyeing with black beans... You just use the water you soak the beans in, so you still can cook with the beans. Results range from blues to greens.:
Isn't that an awesome color?  It came from an old post by lilfishstudios.
A tutorial on dyeing wool blue with black beans (you read that right, black beans).:
And the photo of the beautiful yarn dyed with black beans.
Nice! Black beans. Soak them for 48 hours, soak cloth in soymilk for 24 hours, then rinse. Soak cloth in three days. All cool.:
And another gorgeous color above which was posted by SpiritCloth

There is definitely a whole world of information to discover thru the internet.  If only there were more hours in a day and I weren't too lazy. Yet time spent on the internet takes up valuable time as well.  

Ben has been walked and he chose to do the short version and get back in the A/C.  Glad he did.  Now I'm going to veg out and hook more on the Turkey and Tallowberries so that maybe there will be more to show tomorrow.

Stay cool and dry.  Or.... IF you need rain hope you get only what you need.

Saundra

Sunday, January 13, 2019

Onion Skin Dyeing

Today is the day to get this task done.  It has been so long since dyeing with onion skins and was looking forward to the results.  Wanting to impress my readers 😀 thought it best to pull out my "Natural Dyeing" booklet by Marie Sugar and follow instructions.
It said to use 2 cups of onion skins ~ I mixed both yellow and red onion skins together.  I pressed the down but didn't push so hard it would crush the skins into bits.
The zipper mesh bag was purchased at the Dollar Tree.  There are 3 bags for only $1.
Decided to use these various pieces of bolt wool and parts of dismantled clothing.  There is approximately a yard there.
A picture of the color leaching from the skins before putting in the wool.
With the color almost all absorbed into the wool I wasn't impressed with the results and knew you wouldn't be either.  So pulled out the wool and added another 2 cups of skins into the same bag.
Back into the pot went the wool after the additional skins had leached their color.  Here is the before:
Here are the results.
None of those colors have a plan yet but sure will be more useful to me for antique or primitive rugs that the before wool.  Even in the past when I had disaster dye jobs have found particular pieces very handy.  

Saundra


Wednesday, October 3, 2012

DYEING to HOOK

Yes it is true, I am dyeing and desperately want to hook on my Wee Folk pattern that was started at Cape May September 9th.  And I have been hooking on occasion between drawing patterns but hooking a design as a favor for someone isn't the same as working on what speaks to your heart.  Of course I'll do a good job on the one I promised because I want to be proud of any work I do.  

I'm sure you've probably been in this spot at some time or other where you had a commissioned rug to do by a certain date, or maybe the person wanted you to use different colors than is your personal favorite.  Frankly, I am using colors within box so that isn't the issue, I just want to get back to my Wee Folk because I only had a few days as a teaser.


But this time away and to think about the rug has been useful as I've had time think about my work forward on it.  So today, just to have a connection to the rug decided to over dye some more background wool.  I'd planned on using wool previously dyed with a recipe from the Beautiful Wool book called High Meadow Green.  That has been used in numerous rugs that I've hooked and always seems to be a favorite with teachers when I take it to classes as well.  

So before Cape May I over dyed some light textures, some textures with more grey in it as well as some natural wool.  Naturally the textures with more grey turned out darker.  Seeing what I was providing, Bev suggested that I use the darker for the ground area and use the lighter for the sky area but sorta mingle the two upwards so it would blend in as the light increased into the sky.  

In thinking more about it today I decided to over dye more of the light natural flat wool. The main reason is the ground color near the spokes of the bike wheels.  If you look under the rabbit (first in line) I hooked a light color nearest the spoke so the spoke would show up, but then the darker texture looks odd in the middle.  So DUH, why not over dye more light texture???  Makes sense to me and then I don't have to play games with the values of the wool around the wheels.

In the tote is what I took to Cape May and on the white lid to the right is what I over dyed today.  Have no fear, the darker texture to the far left will be used for something, it always is.  But at least I can cut a bunch of the other and mix the light textures together with the flat but over dyed natural wool.  And I have more of the dye mixed up so if I need more know that it only takes 4 tablespoons for half yard and have some left in a jar if I need it in a hurry.

Thanks for stopping by and soon I'll be posting updates to Wee Folk I hope and would love to bind the beautiful Ducks and Egg Nest rug.....OMG, did it ever turn out beautiful.

Saundra

Saturday, July 4, 2026

EENIE MEENIE MINEY MOE

Seems I keep a revolving and evolving 'to hook' list.  Some have gotten hooked and removed from the list and new ones added.  This first one has been on and off that list for many years.  But am now considering it again.
The original antique of this next one has a border.  But if I hook it will remove the busy border and hook just this part.
Here's the whole rug, so you can see what I mean about removing the border.  There is plenty to look at without it.
This red horse rug was recently found so went on the list.  Janice liked it too.
More red horses to consider and love that background.  There are many old horse rugs using red.  Perhaps because the use of worn out long johns were available plus the natural dyeing using poke berries.
I love this antique Blue Nose pattern.  Look at the wild eye.  Like a mustang stallion warning the other stallions to stay away from his harem.
Even tho there isn't a horse in the rug below I'm still enamored with this design.
If I choose the rug below I'd move the end borders closer to the inside and perhaps even make the horse larger.  Or maybe it would be too much  trouble so would choose another horse design, lol.
The last couple days have been hot as hades. This is a pic of the thermostat on Thursday.  When I snapped the photo it was 108 but don't know  if it went higher after that.
I forgot to take a photo of the thermostat yesterday although it was another hot day.  But did get a photo of the even higher temps today July 4th.  You  can see that it reached a high of 113 and it was humid as being in a steam room.  And yeah, I turned down the AC one degree to help save on electricity.
Happy Birthday America!  

Saundra

Sunday, June 17, 2012

Channeling Magdalena

I cannot believe that I just spent 45 minutes writing my blog and with a click of the wrong arrow just lost it all.  There must have been 8 or 10 pictures which I had to locate in different files and poof.... all gone.  I almost decided to walk away from the computer and quit but it has already been 5 days since my last post.  What is worse is that I was done with my post and was checking to see if the link attached was working and then clicked to exit rather than the arrow to go back to where I was.  Oh well, that taught me to click SAVE sporadically when I'm doing my blog.  (like now)


This small rug or mat evolved because my friend Evelyn Lawrence gave me a challenge.  It all started when I was hooking the fox mat for Barb before leaving for Woolly Fox.  Evelyn asked the size which was 9 x 15 and she said that would be the perfect dimensions for her to hook up quickly.  She asked if I would draw one up and send it to her..... well of course, anything for my dear friend.  Evelyn is considering teaching a Magdalena Style class and thought it might be nice for students to see how a design can be done in Magdalena style and how each one might come out differently.  We didn't know how each other was going to hook our rugs but I just knew they would be different....and so they were. SAVE! (not going to lose this again)


While the hooking is done it has not yet been bound but was excited to share it with you.  This   piece measures 12 x 17 as room was needed for the corner swags and circle flowers.
This is what it looked like before sending a picture of it to Evelyn and when I saw the bright outline of the fox knew it had to be pulled out and rehooked with a more subtle value.  As you can see I also fiddled with the circle flower on the top left too.
And this is the style in which Evelyn hooked hers, more of a hit and miss.  Carrying her challenge to the limits, Evelyn said that some of the colors in her corner swags were mostly wool strips adopted from left overs discarded by hookers at a camp she attended.  After all, Magdalena used what she had and Evelyn was following in her footsteps and utilizing what was available.  Besides, it makes for an interesting conversation and example of using what we have available, when teaching the students.
For my rug I chose the design of Magdalena's Dog.  Obviously this rug did have color at one time but with age, sun, wear and perhaps even natural dyeing it has lost some of it's color.  But for me it was using larger areas of same color that attracted me to this design; that plus it would have color in the swags and circles.
For those of you who may be new to the Magdalena style or a little timid, an even more simplistic approach would be to follow the basic design with a center motif and corner swags with a solid background like the Magdalena rug below.
There are various styles to Magdalena's hooking, the one I did was only one.  There is also the hit and miss style in Magdalena's Eagle rug where she filled in blocks with color and using different values just as we are taught by teachers today.
It appears Magdalena preferred or perhaps it was out of necessity, that she used a hit and miss style most often.  oops, I see this next picture is laying on it's side but you get the idea of the point I was trying to express.
It is quite easy to take any motif or several motifs and make your own Magdalena style rug.  All one has to do is peruse the book researched by Evelyn Lawrence and co-authored with Kathy Wright, and look at all the ways in which she made her rugs.  Then you just pick out the style that speaks out to you.


Just remember to date your rug and put a tag on it with your name as the hooker, the date and the wording "Inspired by a design of Magdalena Briner".  
If you do not own a copy of this magnificent read with many pictures, treat yourself and order it today.  Here is a link where you can purchase it:  www.rughookingtraditions.com .   I hope you have enjoyed this post and I fear that I've left something out that was lost with a click of my finger.  


Saturday, June 11, 2011

E.S. Frost Sheep

Since I was going thru hooking withdrawal, I just had to pick up my sheep rug and pull some loops...even tho the rabbits aren't quite done.  Well, that plus the fact I took care of my grandson and his cousin a couple days this past week since school is out, and that way I could be closer at hand and fill the needs of the kids.

I am really loving the various colors used in the scroll work around the sheep.  It seems much more interesting with the change of colors than if the scrolls were just a brown red (or other color choice) with a gold vein running thru it.  This adds much more interest to the rug and makes the eye move around.

And, I thought I'd add a little interest and make the shape of paisley in the area and work around it, but also wanted to do a little directional hooking as you will often see in antique pieces.  I've often wondered if that woman just got bored and decided to do the directional hooking, or perhaps she had put the piece down until she came up with more similar in color wool and just began hooking directionally, or maybe she had to do more natural dyeing to achieve a similar color, but I've always found that interesting when looking at antique rugs.

So thru my wool stash I went and found a wool jacket I'd washed and disassembled and it had some similar colors of the other soft blacks I'm using for the background and thought I'd do some directional hooking as well.  Must admit it is a little boring but it is easier hooking in a straight line than it is curving or angle hooking.


I drew out two sizes of this design and chose to hook the larger one, thinking that I'd need the larger size thinking that I'd need the size for the detail.  But now think the smaller size would have worked just fine too and wouldn't have all the excess background and body of the sheep to hook.  But, this will look quite lovely in my home for sure, not certain where it will go yet but someplace where I'll see it every day to enjoy it's beauty.

Tuesday, May 22, 2018

Vintage Rug Show

Time to share a few rug photos I've collected.  This first rug has a lot going on~ horses in the corners geometric border plus hit and miss background.  The rug measures 28 x 41, found in Pennsylvania but sadly no date was provided.
The rug below was hooked by Cecil Perrault of Quebec, Ontario Canada.  Again no date provided nor dimensions.
A floral with doves and scrolls from 19th century appears to be hooked in Waldoboro style, no size or location of find available.  
Below is a floral a follower sent me.  I has regular hooked scrolls but the urn and flowers appear to also be hooked Waldoboro style. 
Lion in the Garden has that wonderful background I like.  Since there was a lot of natural dyeing being done years ago I wonder if the lion colors faded or if that is what the hooker chose.  Sure makes the lion stand out regardless of the circumstance. 
A moose Adirondack scene measures 20 x 30.
This evening there will be MORE rain here even tho I still have 'water front property' already.  Yesterday while standing in the kitchen noticed a family of Mallard ducks and ducklings swimming in my back yard.  Yes it was a pleasant scene but would rather not have all that water in the yard.

Saundra

Sunday, November 4, 2012

Salt Shaker Dyeing Birch Bark

Ya know when you are dying how you clean your dye spoons in Kosher Salt ~ the granules are larger than regular salt an more abrasive, therefore cleaning the spoons better.  During that process the salt gets dirty looking with lots of different color specks of dye mixed in. 

In an Eric Sandburg class he demonstrated how to make Birch Bark by doing the Salt Shaker method.  You would pre-wet your natural wool, sprinkle some of the salt onto the wool, roll it up, bind it and put it in your pot to simmer.  After the appropriate length of time you would use either citric acid or vinegar as the mordant to fix the dye.  You can see the jar used to clean my spoons and the shaker with some old dirty salt and some new salt.  The amount of salt you shake would depend on the look you are going for.
Here are two pieces of salt shaker dyed Birch Bark wool.  Oh I love Birch trees and have some in my yard but unfortunately, tho birch tree hooking is in my 'things I wanna hook' so far haven't drawn or hooked any.  And depending on the size of my project may need to do more salt shaker dyeing for more wool.  Think next time I'd be a little more heavy handed with the shaker in order to have heavier coverage.
I suppose you could even use this as darker snow for the shadows and hills and valleys with less intense dyed wool for the brighter.  Wish I had more time before my next camp do show you a step-by-step demo on what to do but this teaser will have to suffice for now. 

Thanks for stopping by for a spell and listening.  Saundra

Thursday, April 10, 2014

Dyeing in Anticipation

That's right, I'm dyeing in anticipation...of the next project to go on my frame.  Some of you (Lauren) figured out which one is the next one.  I've been collecting odd pieces of wool which weren't large enough for a whole motif and light colored wool with too much white to suit me. 

The intention was to have some toned down dirty muddy alternatives in stock to use in antique adaptations.  It is great to have several different wools from the same dye bath as it looks great all hooked together.  Or it can be used here and there mixed with other wool for a background or motif.  I'm sure some will be used in my Woolley Fox camp rug too.

This morning I gathered about 3 yards of wool to dye in 3 different pots but with the same recipe.  BUT, from the ONE CUP I used only tablespoons per pot, NOT the whole cup per pot.  So, two pots had 5 tablespoons of the solution and the darker wool had only 4 tablespoons.  So there is a smidgen of dye left which I've saved for another time.  Here is the recipe:

Olde Patina
1/2 t. Khaki Drab (Cushings)
1/8 + 1/16 Golden Brown (Cushings)
1/8 Prochem 124 Gold (since I didn't have Cushings Old Gold)
1/16 t. Dark Gray (Cushings)
1/64 t. Wood Rose (Cushings)

This was pot 1 Before.  Most of the wool is from Heavens to Betsy.  I'm not sure where I got the wool with the orange, the 4th one from the left. As I LOVE buying Betsy's Remnant Bags, I save pieces like this for the dye pot.  AND, what is lovely is that I get to see pieces larger than the samples to get a better look at the wool.  The 3rd and 5th pieces of wool are wonderful as they are but since I've more of the 3rd, thought I'd toss it all into a pot anyway.
Here is Pot 1 After.  And I swear the wool to the far right doesn't look that orange in person.  Nor does the pink in the second one show up as much as in the photo.  Oh well, cameras, flashes and monitors...what can I say.  But you can see they will work well in antiques.
Pot 2 Before, again mostly Betsy wool except for the third piece where I'm not sure of it's origin.
Pot 2 After.  Need to explain something here.  There were a couple pieces of white/natural wool and they must have been from different mill jobs as they dyed differently.  When I placed them out  for the before photo they were all tucked in together, but when they came out of the pot and look differently, I split the first two white wools for the after photo.   Again these lovelies (except for the orange plaid) came from Betsy.
 
Pot 3 Before.  That green/gold wool, third over, is from Scotland and the one below is from a skirt I purchased at the thrift shop.  The very light in the wool I wanted toned down.
Pot 3 After.  Perhaps I could have added another tablespoon or two to the pot but this is still toned down.  The rug going on my frame next has some blue in it so am hoping that the blue here plus an already old looking blue wool I have will work.
If you haven't already done so, I'd suggest you try one of the Remnant Bag sales that Heavens to Betsy offers.  She doesn't have them often but if you sign up for her newsletter or check her link often enough you will find out when she is having one.  Most times the pieces are larger than you saw here.  But sometimes to make the weight right she needs to put in a narrow piece of wool.  Hey, that works for me particularly for jobs like this.

Goodness, I'm running way late so will check tomorrow for incorrect sentences.  Have a great evening.

Saundra